Brev Deployments - Protected URLs out-of-the-box
You can now deploy any service right from your instance, authentication and all!
Brev Deployments let's you share anything on your machine without opening any firewall rules or dealing with auth. It's a simple way to selectively deploy your projects with others. Manage access with an API key, give certain users access or make it fully-public. We create an outbound only connection and give you a ready-to-go HTTPS URL.
1. Create a new service
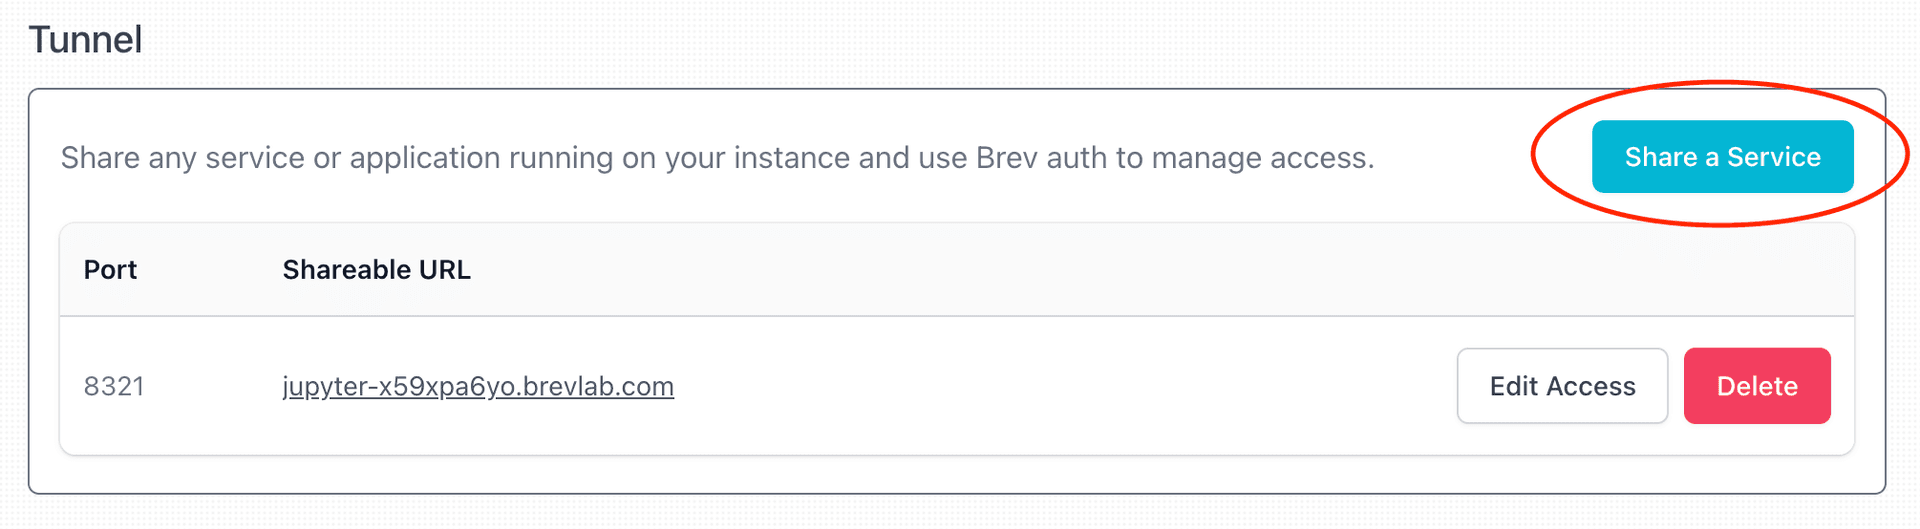
Once you've launched an instance, scroll down to the "Tunnel" section of the Open tab. You'll see that there's already one service: Jupyter Lab, which we've put on every machine for you to use. You can add more services by clicking the "Add Service" button:
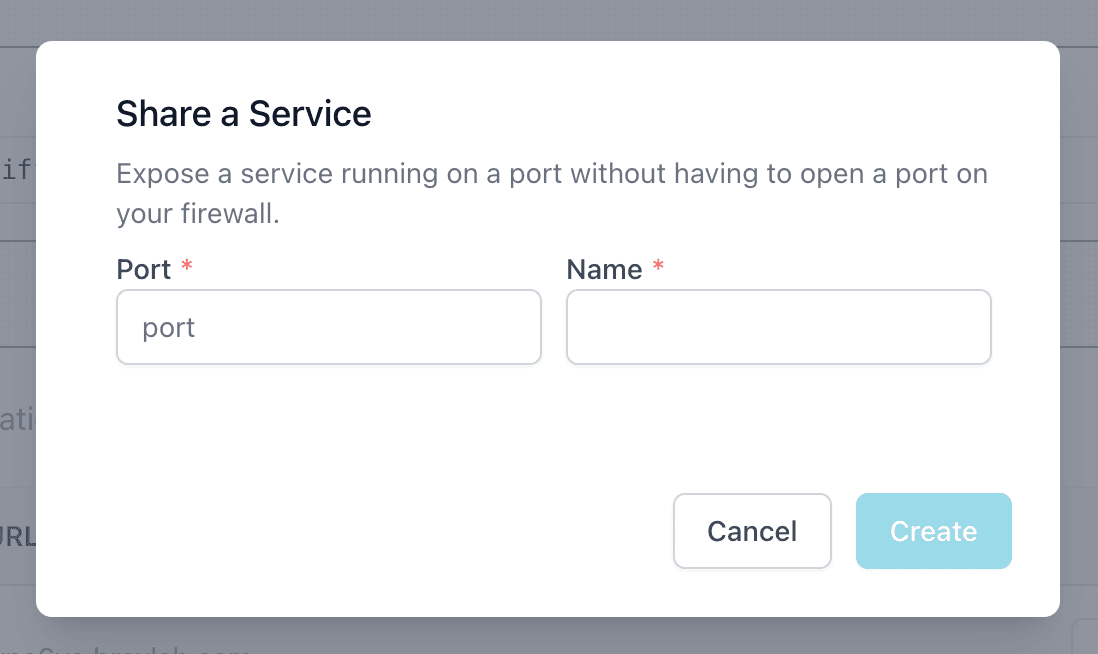
Set the port on which your service runs on and name your service:
2. Invite users
You can invite users via email (make sure they have a Brev account). Hit edit access:

Now that user can access your service by simply heading to that URL (they will get an email saying this!)
3. Revoking access
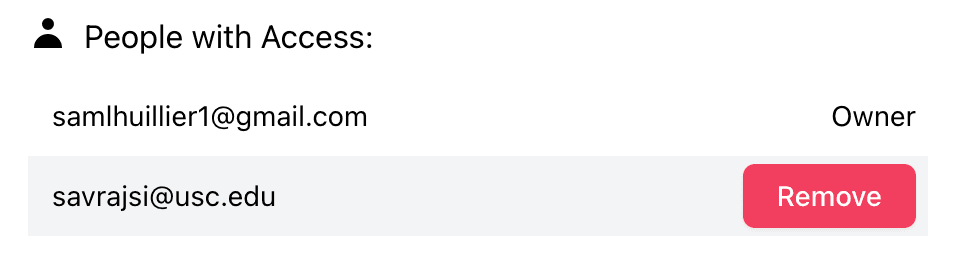
You can remove users from your service by hitting "Remove" in edit access. Keep in mind that the token duration may mean that if they have a tab open, they can continue to access the application until the token expires.
4. Generating an API Key
Next to your application, hit the "API Key" button followed by "Generate Key":
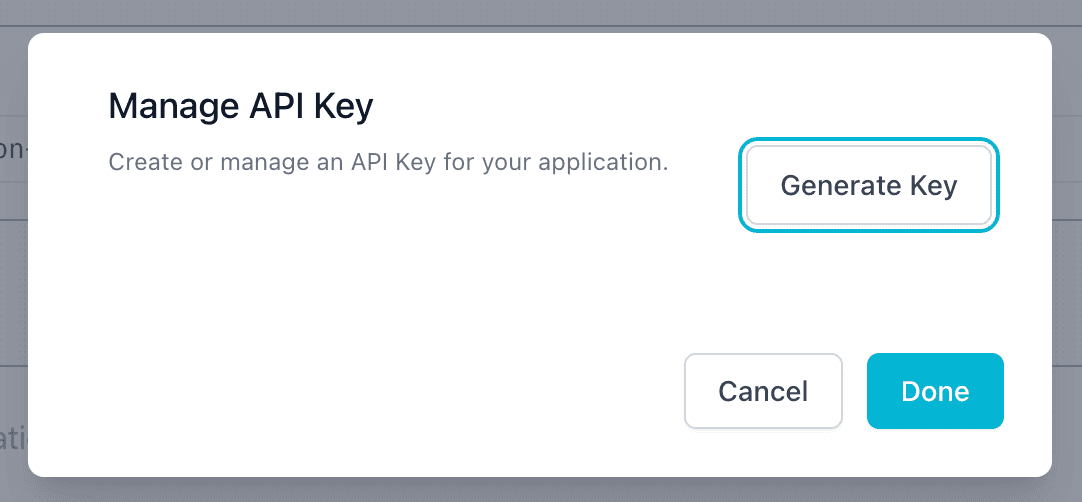
This will generate the key ID and secret. You can make requests to your service with the API key in the header:
curl \
-H "CF-Access-Client-Id: 9716af2e473c76458dbd9182d0584867.access" \
-H "CF-Access-Client-Secret: f6e5bef89968aa99a10d33d2ba79326a2fe18a2ea392be10f25c180e725f9f80" \
jupyter-5rrzfkcyl.brevlab.com
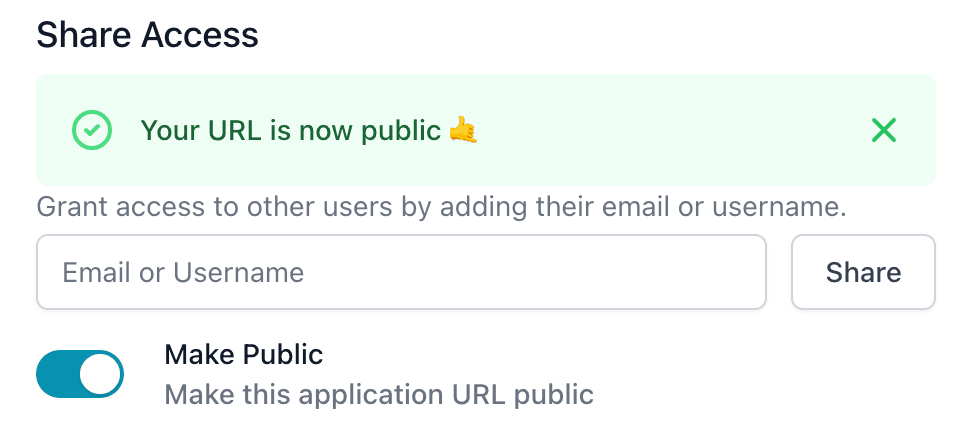
5. Public Access
To remove all auth on a URL and make it public, toggle the "Public" switch. This will remove all auth and make the URL public. You can toggle it back to private at any time.